Archive for the 'Astrostuff' Category
Adapt to survive
When I was in engineering and fabrication, there was this principle of standardisation. It was brilliant - it meant that things would actually fit together, you know, things like nuts would fit onto bolts, hubs would fit into alloy wheels, coins would be accepted by vending machines. It's a principle that we all take for granted.
Well, I'm lost in a No-Man's land, surrounded by seemingly incompatible bits of camera and telescope. Sometimes things fit, sometimes they don't. Telescope bits are usually imperial (2" and 1.25" eyepieces, 8" mirrors etc. etc.) and cameras are metric. Wonderful.
So, in order to get these things to mate, we have to bring in a third class of component... the adapter (adaptor) widget. It's amazing just how many of these damned things can be needed, even to the point where an adapter needs another adapter in order to achieve a union. Here are some examples:
1. Prime Focus (just a camera body on a scope):
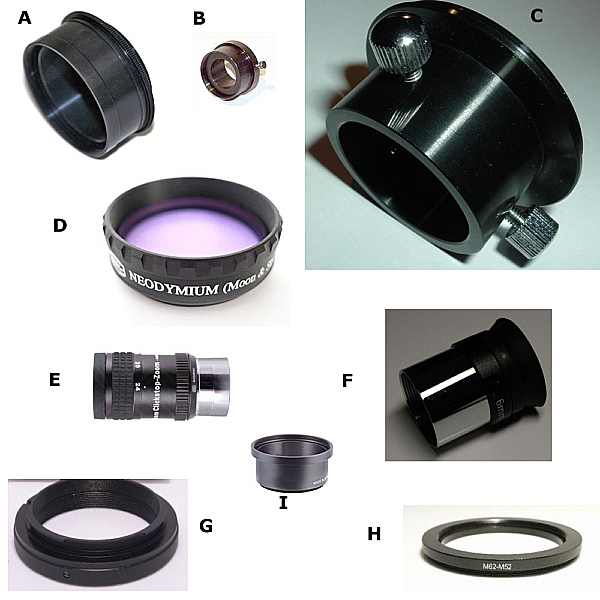
To fit a dSLR camera body (without lens) to a scope focuser needs a T-mount (item G) and either a telescope eyepiece-holder with a male T-thread (item A), or a T-threaded adapter that fits into the eyepiece holder. Simple, eh? Well, not so fast, boyo, let's look again. T-mounts are fun. One side fits directly onto the camera body, so you have to get the correct version for the camera that you intend to use (I needed the Nikon bayonet one for the D50). The other end of the T-mount has a 42mm female thread as standard across the range, and you woud be forgiven for thinking that, if you were so inclined, you could fit a 42mm filter/step-up/step-down ring, but you can't. You see, 42mm photographic filters and step-rings have a 1.00mm thread pitch, whereas T-mounts have a 0.75mm thread pitch. Brilliant. Anyway, then you might have a choice of eyepiece holder... if you've a dual-fit focuser, it'll accept either 2" or 1.25" fittings. I was lucky here - my scope came with a dual-fit focuser and a holder which has an integral male T-thread. Some don't.
2. Afocal (using the scope eyepiece and the camera lens):
To fit a dSLR camera and lens combo to a scope focuser needs similar jiggery-pokery. This usually entails using the filter thread of the lens as the attachment point, using a different type of adapter. Let's look at a few of the options that I have at my disposal:
First up: to connect the 18-55mm Nikon kit lens needs an adapter (item C) which clamps over the barrel of the 1.25" scope eyepiece (like item F) and which has a male 52mm thread on the end, this screws directly to the lens filter thread. Fairly simple, if you've got the adapter.
Second, let's ditch the 18-55mm lens and try the 70-300mm instead. That's got a 62mm thread, so another chunk of precision engineering (a 62-52mm step-down ring, item H) is required. And so on for each different lens thread... you get my drift?
Third, I've an Olympus non-dSLR digital camera (C730-UZ) which I want to try... that has an unthreaded lens that extends out of the camera body when in use, so fitment must be made to the body around the base of the lens housing, where there's a 45mm thread. This thread takes an extension adapter (Item I) which has the required 52mm thread at the end... confused yet?
Finally, I've a zoom-eyepiece (item E) on order, this can be used optically on the scope without any hassle, but fitting a camera to it will be interesting - I've no idea if the clamp-on 52mm adapter will fit, and rumour has it that it has a special thread hidden away under the rubber eye-cup, this special thread is purported to be an M54, but at present I don't know if it's a standard or a special pitch. No doubt I'll need yet another damned adapter to get it to hitch to the lens. Time will tell which one's required.
3. Eyepiece projection (with the scope eyepiece, without the camera lens)
Well, that's just a mash-up of bits of the previous two methods, it needs some sort of connection between the scope eyepiece and the T-mount. Another adapter, maybe? Surely not! Looks like it. I'll be leaving this method until I've got the hang of the others, I reckon.
Oh, I forgot to mention one thing... all of the methods that employ a telescope eyepiece require you to have yet another adapter (an eyepiece holder, like item B) to fit said eyepiece into the focuser on the scope.
Had enough yet? No? Well, I'll go on about filters.
I've already mentioned photographic filters (the screw-on type, not the drop-in type), they have metric threads so that they can be screwed directly onto the front of the camera lens. Now, let's consider astronomy filters. Imperial threads. To fit scope eyepieces. 2" or 1.25". Horses for courses, as they say. Now, that's not too much of a hardship, but it would be cool to be able to use an astro filter, such as the light-pollution reduction filter (item D), on the dSLR when out and about taking night-shots without the scope. Alas, there's not much chance of that happening, as 2"-to-52mm adapters are as rare as rocking-horse shit.
Not a clue what these bits look like? Well, here's a piccy to help you out. Of course, I've not pasted the images at a consistent scale... that would make things too easy.
Observing Report 27th-28th January 2008 (Stars and stuff)
I got the scope out again last night and had a couple of hours seeing what was about. The views were much better because I had collimated the OTA, after buying a second-hand Baader Laser Collimator from a helpful bloke on the SGL forum.
Mars was a clearer sight than before, but I'm still waiting for better (greater magnification) eyepieces in order to make out detail on the surface.
Next was the Orion Nebula (M42), a truly captivating sight which never fails to impress. Ella was gobsmacked by it when it was her turn at the eyepiece.
At her request, we turned the scope to look at The Pleiades (M45), which didn't fit into the field of view but showed many more stars than she expected.
Finally we had another look at Saturn. Elanor noted that more moons were visible compared to when we had observed three nights before.
Sorry, still no photos. The adaptor widget is on the way. The tracking motors should be here tomorrow.
Observing Report 24th-25th January 2008 (Mooning)
First time out for the new scope. It's not collimated yet (I'm waiting for the postie to deliver the required laser-gadget) so the view quality was never going to be good. Couple that with the fact that I've only got the one eyepiece until the new set is delivered, so I was restricted to just the one magnification (x50).
First off was a shufty at Mars. At x50 it's just a tiny flat orange disc so there was nothing to get excited about. It served as a handy target for practicing with the manual RA and Dec adjusters (leccy computerised set on order).
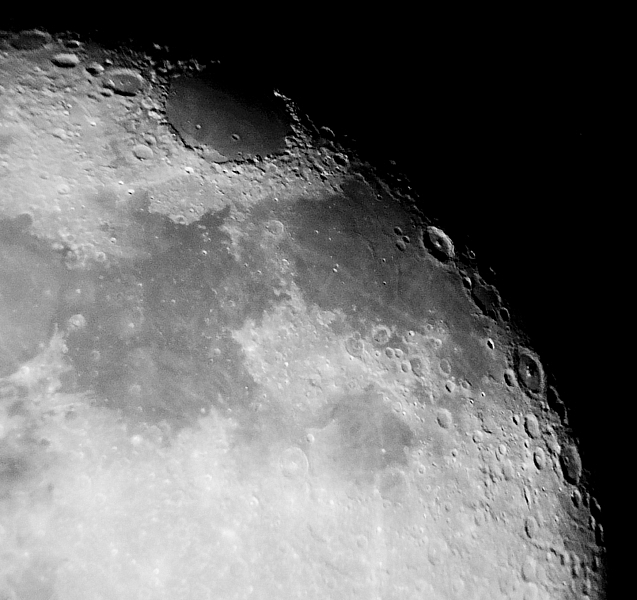
Next up was the Moon. It's just past full, so there was much detail on the terminator, where there were shadows which added depth to the view. Chris was really impressed when she eventually got a chance to have a look-see. I grabbed the D50 and took some hand-held snaps through the eyepiece. I really need to get a T-ring to fit the camera directly to the scope.
Finally, Saturn was visible to the left of the Moon, so I slewed around to that and got a decent view. Titan was obvious, and two other moons were just visible. Anna was still awake so I let her have a look, she was really wowed by the view. Her class is studying the planets, she's so chuffed now that she can tell all her classmates that she's really seen another planet and another moon! I took a few snaps but they're rubbish and don't show any moons, so I'll not post them here.
Phased out
A few of my blogging friends have added a moon phase module to their blogs, they're using the widget thing that's available at http://www.calculatorcat.com/moon_phases/moon_phases.phtml.
Now, it looks fine and dandy when set to display for a Northern Hemispherian like me, it looks like this:
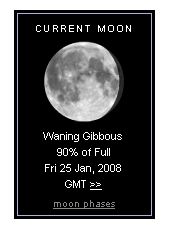
No problems there, that's what the moon looked like last night.
But clicky-clicky on the arrows to set the display for my antipodean cousins and you get...
this:
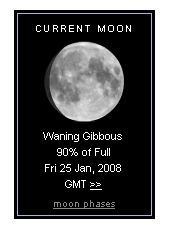
Tell me it ain't so. Surely the terminator can't just change it's position just because the observer has moved from one hemisphere to the other.
The experts over at SGL concur that it should look like this:
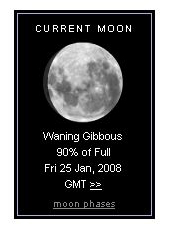
All this space stuff. It's not rocket-science, is it?
Update 27/01/2008: Just visited the website again and the error's been fixed. Another indication of the power of the internet, eh?
My big black 8-incher
During the day, it hides in the wardrobe...
at night, it just wants to go out and have fun, see the sights, shoot the moon, that sort of thing...
I predict that we can look forward to a deep and meaningful relationship.
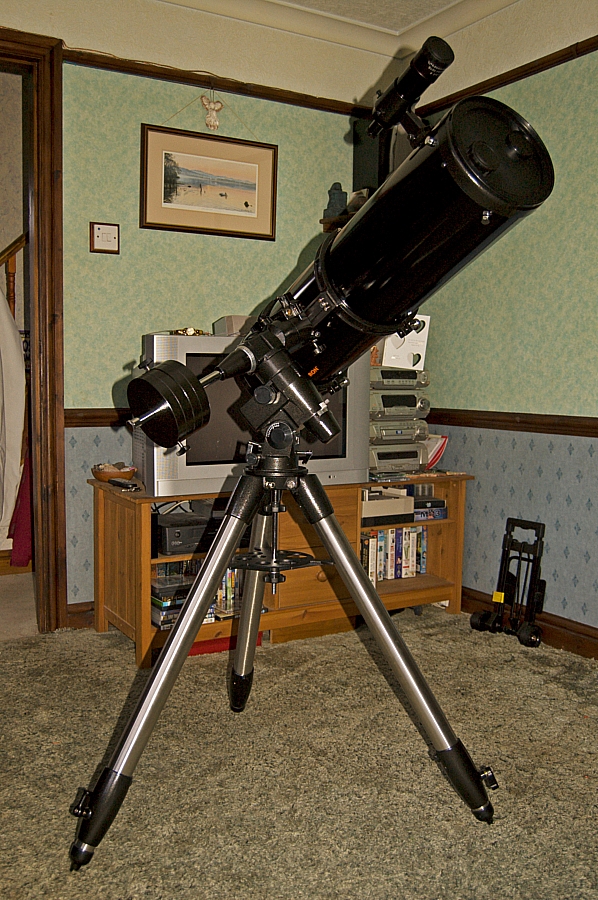
It's a Celestron Advanced C8-N, by the way. Here's the low-down:
General Details:
- High quality 8" reflector
- 9x50 finderscope with bi-directional alignment screws and a spring loaded pivot support
- 2" focuser allows for use with 2" or 1.25" eyepieces
- Slow motion controls for smooth tracking action
- Heavy Duty (CG-5) German equatorial mount
- Ultra sturdy 2" diameter steel tripod with accessory tray
- Includes CD-ROM "The Sky" Astronomy Software which provides education about the sky and printable sky maps
Technical Information:
- OPTICAL DESIGN: Reflector
- APERTURE: 200 mm (7.87 in)
- FOCAL LENGTH: 1000 mm (39.37 in)
- FOCAL RATIO: 5
- FINDERSCOPE: 9x50
- MOUNT: CG-5 Equatorial
- EYEPIECE 1: 20 mm (0.79 in)
- MAGNIFICATION 1: 50 x
- ACCESSORY TRAY: Yes
- TRIPOD: 2 (two) inch Stainless Steel
- CD ROM: The Sky Level 1
- HIGHEST USEFUL MAGNIFICATION: 480 x
- LIMITING STELLAR MAGNITUDE: 14
- RESOLUTION: 0.69 arc seconds
- RESOLVING POWER: 0.58 arc seconds
- PHOTOGRAPHIC RESOLUTION: 400 line/mm
- LIGHT GATHERING POWER: 843 x
- ANGULAR FIELD OF VIEW: 1 °
- LINEAR FIELD OF VIEW (@1000 YDS): 52.5 ft (16 m)
- OPTICAL COATINGS: Aluminum
- SECONDARY MIRROR OBSTRUCTION: 2.2 in (55.88 mm)
- SECONDARY MIRROR OBSTRUCTION BY AREA: 8 %
- SECONDARY MIRROR OBSTRUCTION BY DIAMETER: 27.5 %
- OPTICAL TUBE LENGTH: 37 in (939.8 mm)
- TOTAL WEIGHT: 67 lb (30.39 kg)
- TELESCOPE WEIGHT: Approx 19 lb (9 kg)
- COUNTERWEIGHTS: 2x11lb
Normally priced up at around £375, they're currently on sale at £249 (inc. VAT and delivery) at various places, I got mine from Rother Valley Optics.
Lunacy
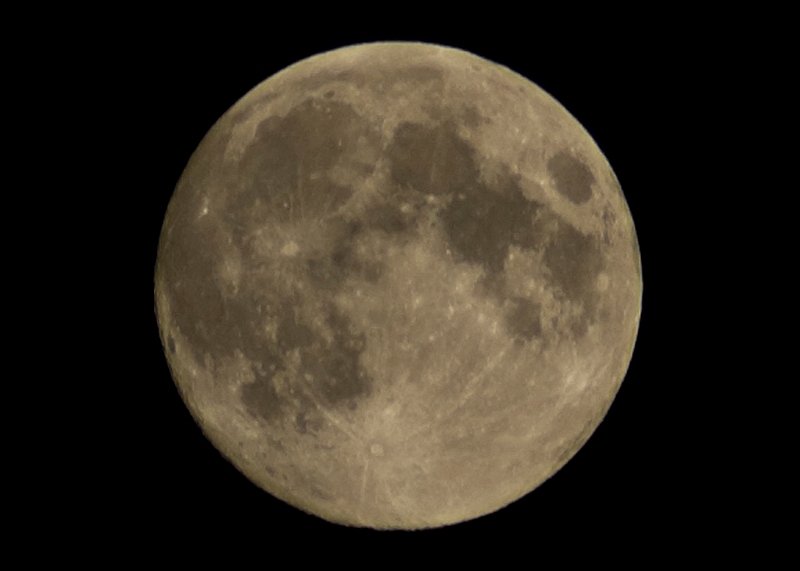
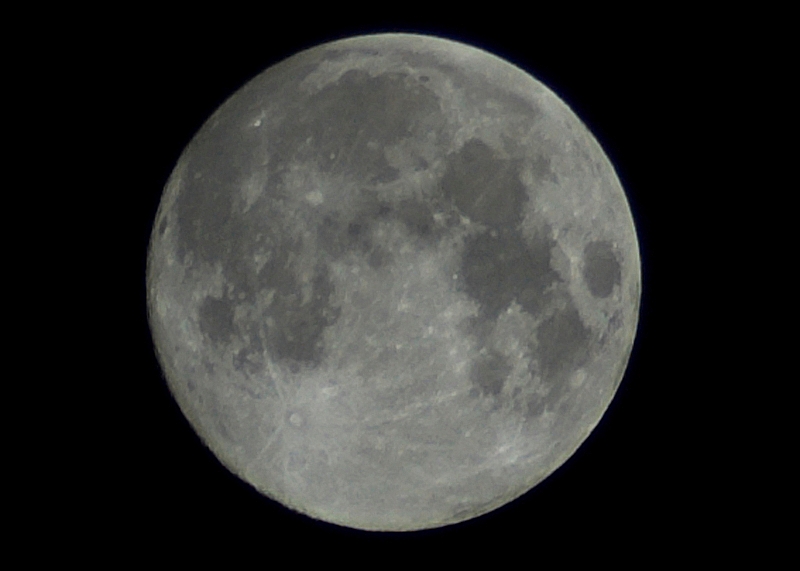
Took a few shots with the D50 + 70-300 lens tonight, the skies were wild with fast-moving broken low cloud, impressively backlit by the full moon, which looks flat without shadows.
First one: handheld stuff only, couldn't be bothered to race upstairs for the tripod. Full manual settings (300mm, f/5.6, 1/1250s, ISO 200), minimal tinkering with PS CS3.