Archive for the 'My reviews' Category

Bob’s Honey Stove – first mods

Posted by on November 13th 2008 in My reviews, Shiny new kit
Tags:

Right, before we start, I just want to say that these mods weren't necessary - it's just that I like to tinker with things to make them fit in with my personal intended use, and that use doesn't necessarily align with the intended modus operandi for the equipment. The unadulterated stove is clearly capable of being used with a Trangia™ burner, Bob's demonstrated that on his site, but I wanted it to work in a different manner, so I went out on a limb and did what I felt was in the best interests of what I wanted to achieve.

Anyway, I've wielded the tinsnips and the file, and now Podcast Bob’s new Honey Stove has been adjusted to suit my needs. Here's a summary of my mods:

What’s changed? I've notched the door panel and two of the five side panels as per the following pic:

Why? To allow the top grill to be removed without taking the sides apart. It can be lifted off quite easily, even when hot if you use a pan-grabber. The top grill had to be modded too.

Tell me more! In order to allow the top grill to sit inside the walls, I snipped off two of the five tabs, it now looks like this:

Will it still fit into the slots as per the original design? Yes, but with only three tabs it'll only lock into three slots. But you guessed that already, didn't you?

So, does it work? Yes. Remove the top grill and it's easy to access the Trangia™ burner'. Replace the top grill and it supports the mug. The top edge of the stove is still capable of supporting pans, and I've not altered the bottom edge.

Are there any other benefits? Well, the weight's been reduced by a massive 4g. OK, it's not much, but it means that I don't have to saw the handle off my toothbrush.

What next? It's time for a brew, if I can find the meths.

Bob’s Honey Stove – first thoughts

Posted by on November 12th 2008 in My reviews, Shiny new kit
Tags:
Podcast Bob's been kind enough to let a select group of folk have test-samples of his new Honey Stove, and I'm one of the lucky ones. These are my first thoughts, and the results of my first attempt at testing it. What's in the kit? A set of interlocking flat stainless-steel panels, comprising six side-panels (one of which has an aperture for accessing the interior), three grill panels (top, middle and bottom), a foil ash-tray, a cloth pouch and an A4 instruction sheet. How much does it all weigh? The stove panels add up to 356g, the ash-tray is 10g and the pouch is 44g. How much pack-space does it take up? Packed in the pouch provided, it's roughly 200mm x 140mm x 10mm. And when it's assembled? 125mm high, 125mm A/F. What's it look like? A bit like this:

Is it fiddly to assemble? Not really, I just slotted together the five standard side bits and held then in an open arc while slotting in the three grill panels. After that, I just slotted in the front panel to lock it all together. It takes 2 minutes tops, but I'd imagine that after it's been bent and dented a bit it would take a bit longer. If you can't figure it out, give it to some primary-school kids and be prepared to be embarrassed. What about stability? Very good on a flat surface, not a hint of it wanting to come apart. So, what fuels will this baby burn? It's primarily a wood-burner, but it's said to be versatile enough to work with a veritable plethora of fuels, see the product description for more details. What's the difference between the three grill panels? The bottom one has small vent-holes and is primarily for supporting sticks etc. when using it as a wood-burner, but can be used for other solid fuels. The top one is a pan/mug support, so has plenty of holes to let the heat get through. The middle one is similar to the top one, but has the central section removed to allow a Trangia™ burner to sit inside. The three grill panels are interchangeable, as they each use that same tab/slot fitting. It's possible to get away with using just one grill panel if you wanted to go all minimalist, but if that sort of thing floats yer boat I suspect that you'll already have other options in your kit-stash. This stove is aimed at versatility rather than speciality. That sixth side panel - does the aperture have to be at the bottom? No, just build the thing upside-down and you'll end up with the aperture at the top. What about cleaning it? Eh? You clean your kit? Oh dear! Seriously, a wipe with a damp rag or through some wet grass ought to suffice. Of course, you'll have let it cool first, won't you? So, what about that first test? I wanted to try it with my Trangia™ burner and Alpkit MytiMug, so I set it up like this:

So, how did it go? Not well. The front aperture's nowhere near big enough to admit the Trangia™ burner.  Bob's site has pics and a video where the burner's been put in from the top, and where the top grill is omitted. Fine for pans and large pots which would sit on the top edges of the side-panels, but a mug needs a support. I suppose the mug could be supported by two tent-pegs passed through some of the holes along the top edge, but I'm not in the habit of carrying extra pegs as part of a stove kit. The way around it might be to build the stove around the burner, but that's a faff which throws up more hard choices - sealing-cap off and risk spilling the meths, or sealing-cap on and be unable to reach in to take it off. Either way, if you want to use the Trangia™ simmer-ring, you'd be hard-pressed to access it through the aperture and you'd be at risk of getting blistered fingers.

What next? I was going to try it as a wood-burner next, but I want to get the Trangia™ issues sorted first.  Looks like my chosen test combi is a no-no at the moment. I'll post again when there's progress. Now, who's 'alf-inched me tinsnips?

New arrival – Velbon Ultra Maxi F tripod

Posted by on October 15th 2007 in Camera kit, My reviews, Shiny new kit

I couldn't resist getting my grubby paws on one of these lightweight tripods after reading a lot of favourable reviews about them. I reckon that it's about the right size and weight to take in the pack when I'm walking and/or wildcamping.

 Here are a few pics, with explanatory notes:

Folded length 36cm, weight 958g without the bag.

Fully-extended legs and column. With the Nikon D50 attached (horizontally and landscape), the height of the lens centre-line is 154cm and the height of the view-finder is 157cm. Dropping the column to the minimum setting reduces heights by 23cm.

Legs not extended but at maximum angle, lower section of column removed. With the Nikon D50 attached (horizontally and landscape), the height of the lens centre-line is 22cm and the height of the view-finder is 25cm.

I like the pan-head swing-function - from a landscape orientation, the camera can be tipped 90 degrees either way very easily. The quick-release plate is light enough and small enough to leave on the camera all the time. The centre-column can be inverted for taking pics with the camera beneath the head assembly, useful for taking pics with the camera pointing straight downwards. The Trunnion Shaft System (TSS) is easy to use and seems fairly robust so there's no fiddly leg-locks to worry about - just twist to lock/unlock. There's no centre-brace, so it's not the most stable tripod in the world, but it handles the D50 with 70-300mm zoom well enough, and that's good enough for me.

Ennerdale wildcamp post-trip kit report

Posted by on October 11th 2007 in Camera kit, Great Escapes, My reviews, Wildcamping

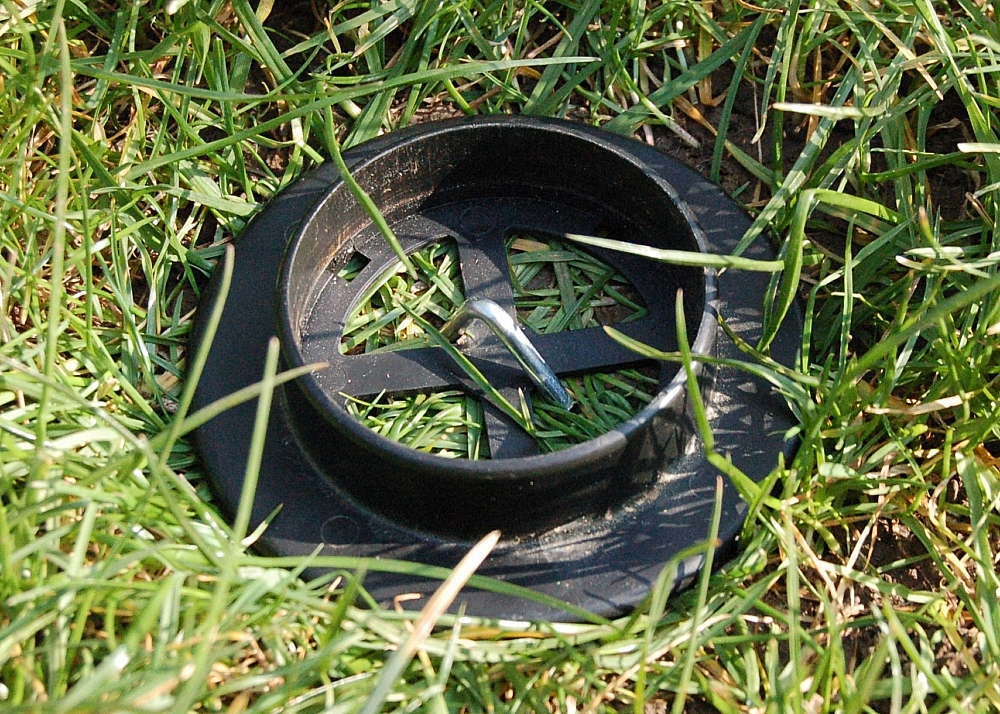
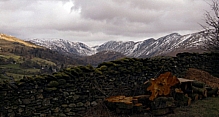
OK, let's start with the tent. I took the Vango Spectre for it's first wildie and it performed well, but then again conditions were good so it wasn't tested to the max. It was easy to put up, it took about 5 minutes, which I think is acceptable. In the morning there was a small amount of condensation on the underside of the fly, it would have been much less if there had been any sort of a breeze flowing through the end-vents, but there wasn't. I still need to replace the original guy-lines with Dyneemas. Oh, and I'll just take the right amount of pegs next time (14 Tikes, instead of the bag of 30 that I lugged around).

The pack. I was going to take a 40l pack but changed my mind at the last moment, opting instead for the Lowe Alpine Warp70 which allowed me to take the full camera kit. Features that I particularly like are the Torso Fit Duo back system (which suits me better than most other systems do) and the big external flap pocket at the back, which easily stores all of the food and drink for the weekend and which is so easy to access, being almost independent of the main body of the pack. I reckon that I had about 40l of walking kit and 10l of camera kit, so there was room to spare.

Navigation. As usual, I took the trusty Silva 15TDCL compass and A4 print-offs (printed at 1:12500) of MemoryMap maps stored in the A5 Ortlieb mapcase, backed up with the Garmin Geko 201. I hardly used any of that stuff, though, as I got by just fine with the O2 Xda with the inbuilt satnav working with the MemoryMap software that I have loaded onto the 2gig micro-SD card. I always got a good satellite signal and the positioning was fairly accurate and fast, plotting the positions directly onto the map overlay instead of having to transpose the position from Geko readout to paper-map. I started the walk with the Xda fully-charged, it was down to 81% when I got back to the car. I think that the Geko might be going on eBay soon, it's good kit but the Xda does the same job and much more besides (except the Xda's not waterproof, so I have to bag it in bad weather).

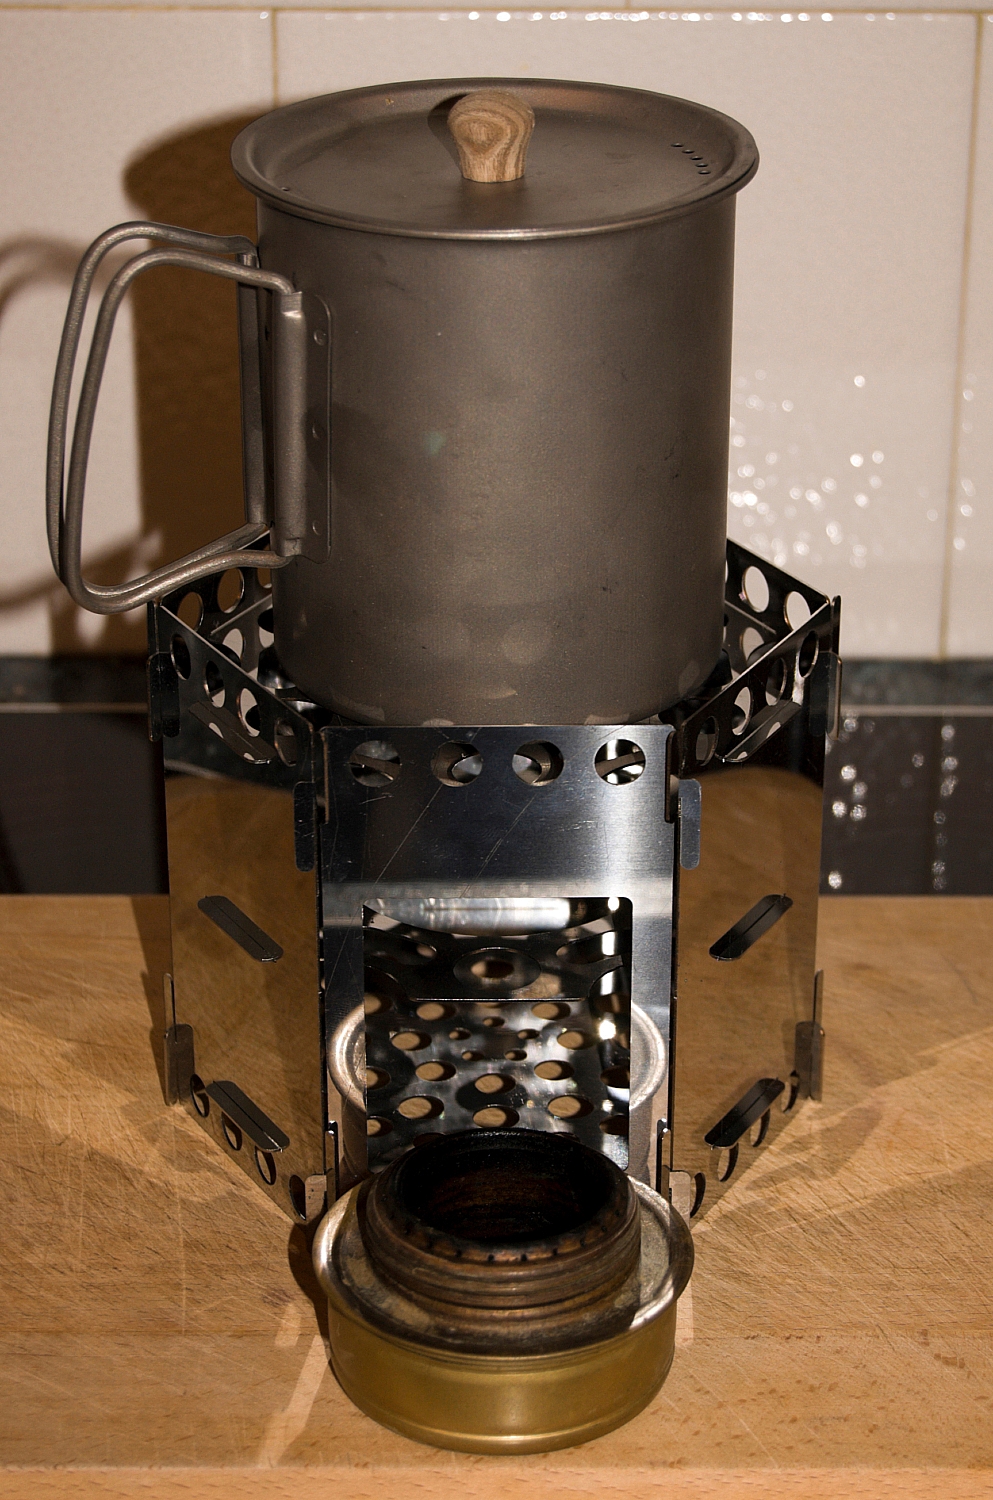
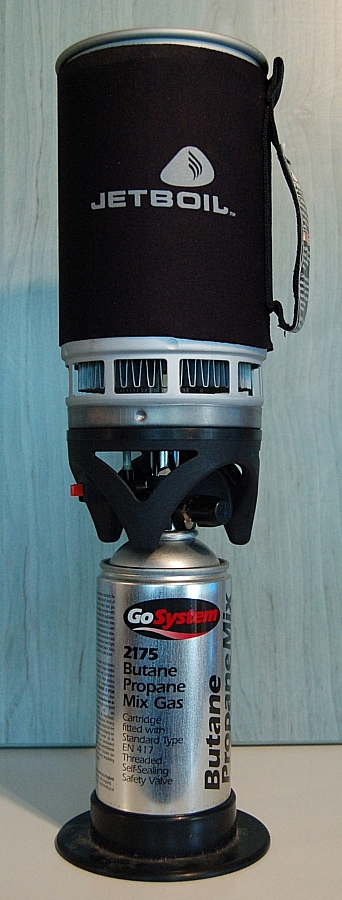
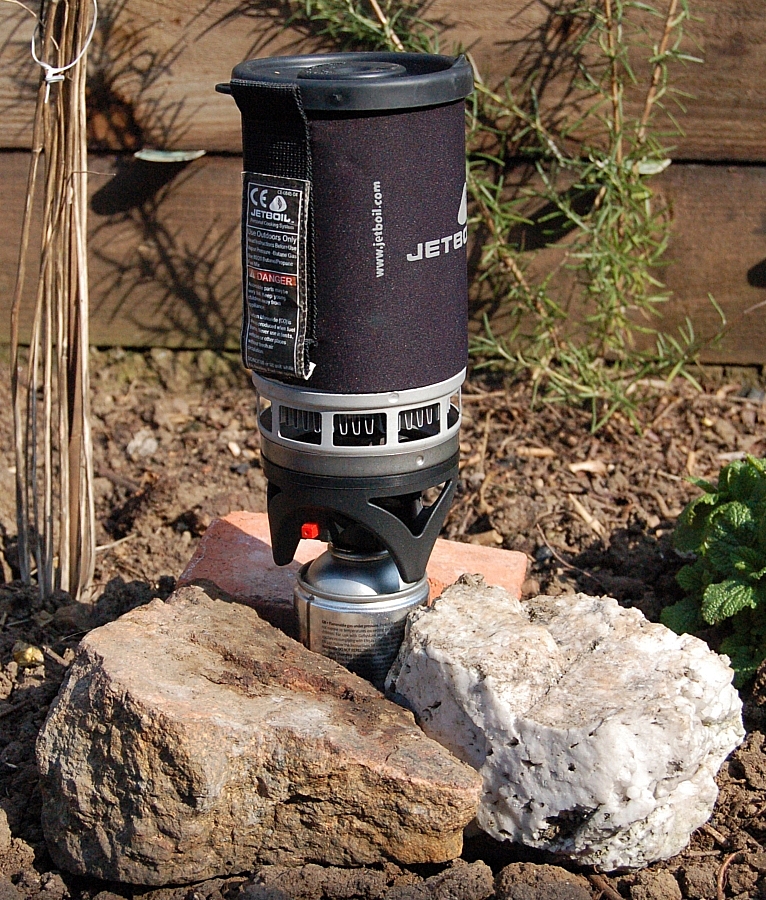
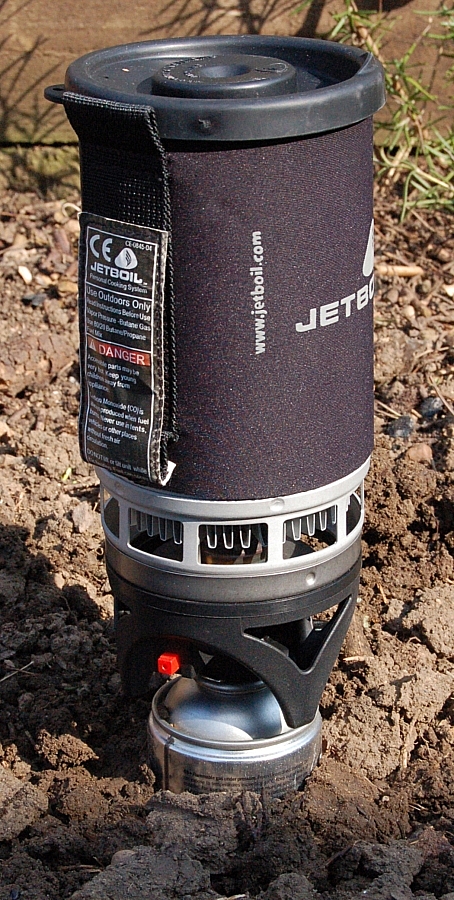
Cooking. The Jetboil performed impeccably, starting first-time every time, so there were no more beard-burning flare-ups. Fuel economy was acceptable - I had three hot rehydrated meals each day (pro-rata) and regular brew-ups, using just less than a quarter of a Coleman 100 canister.

Boots. Having got bad heel-blisters from the Raichle Fusion Mid XCRs on the Brecon Beacons meet, I went back to the Scarpa SLs and they were much better than they have been before, no doubt due to the liberal amount of zinc oxide strapping wound around my heels. The boots have now shaped themselves to my feet, so things can only get better.

Sleeping. I took the Alpkit AD700 bag, expecting the nights to be cold due to the clear skies that had been forecast, but it was too warm and I ended up using it as a blanket instead of as a bag. The mat was the InsulMat Max Thermo - it's light, comfy and packs down small. I've now got used to the fact that it needs re-inflating a bit just before use (when it's first inflated, the air inside is warm, but this contracts as it cools and needs to be "topped-up" to ensure the mat's fully inflated).

Clothing. I didn't bother to take a shell-jacket and over-trousers, opting instead for the Montane Featherlite Smock and Pants (Trousers), but I didn't need to use either of them. Most of the time all that was needed on the top half was a Lowe Alpine Dri-Flo LS top, with the Rab VR Climb for those odd post-effort chills.

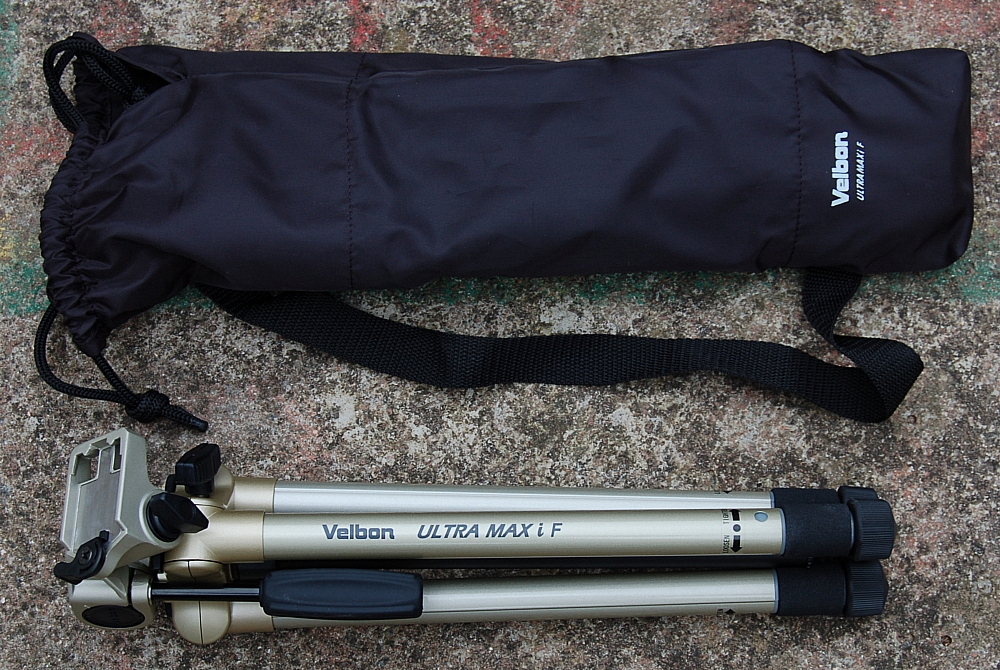
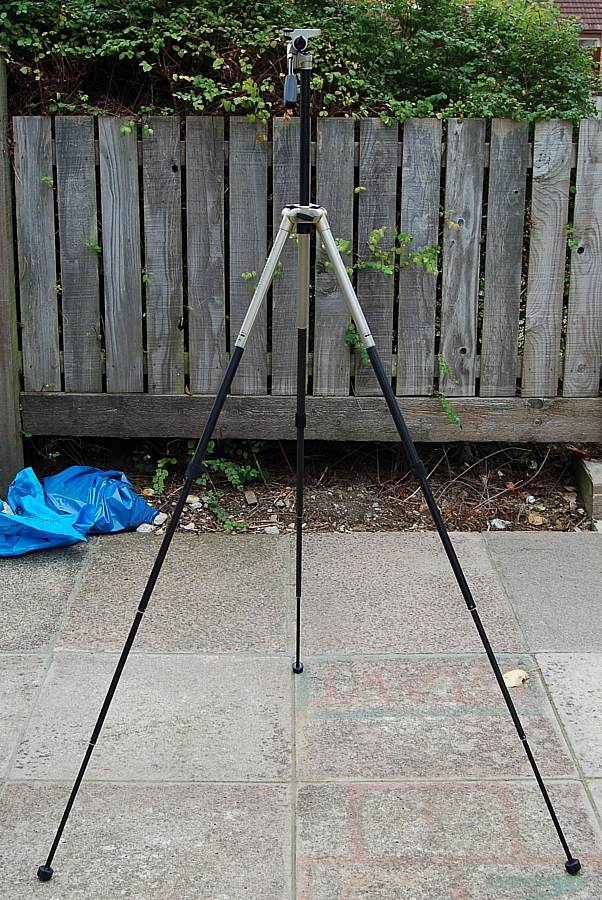
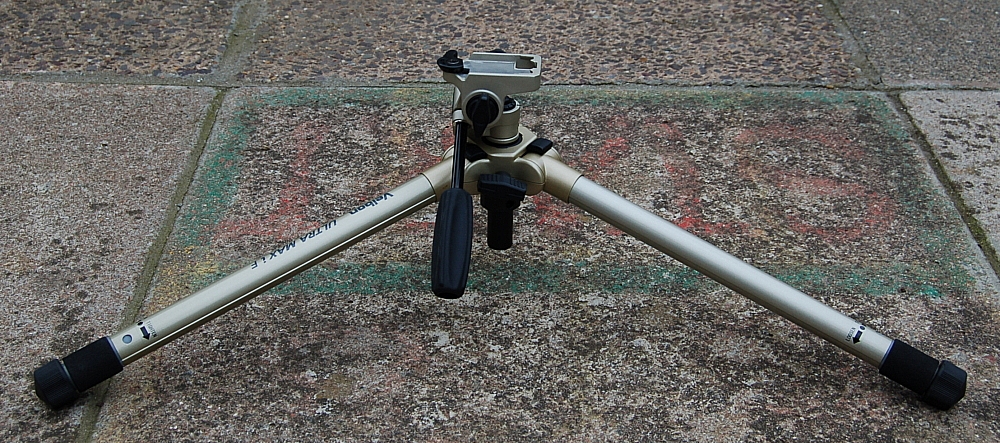
Camera kit. This is an area where I didn't skimp on the weight. I took the camera and a couple of lenses (18-55mm and 70-300mm), a spare battery, cleaning kit, filters and a LowePro case to stash it all in. It added a fair amount (weight and volume) to the load, but I'm prepared to sweat that bit more if it means that I get some decent pics to help me remember the trip. I now know that I need a lens-hood for the 18-55mm kit-lens, and I reckon that a tripod would have been useful for the low-light and/or long lens shots.

Taken but not used:

  • 1 pair spare socks
  • Montane Featherlite Smock and Pants (Trousers)
  • 1 Mars Bar
  • 16 Tikes (doh!)
  • Spare battery for camera
  • Garmin Geko and spare batteries
  • Lowe Alpine Mountain Cap
  • 1 spare dehydrated meal
  • First Aid kit
  • Compass

Stuff that I almost ran out of:

  • Isotonic drink powder (I had enough left to make up 0.25l)
  • Bog-roll (I was down to the last sheet! TMI?)

Jetboil PCS – stability, packing etc.

Posted by on March 28th 2007 in My reviews
Tags: ,

The Jetboil PCS. Either you're a fan or you're not. I'm not about to try to sway your preference for stoves, this is just a bit of info about stability and the like, as I've experienced it.

The standard setup is fairly stable with a bigger gas canister (e.g. a Coleman 250), but not so much with a smaller one (e.g. a Coleman 100). Never mind, things can always be improved.

Jetboil make a set of legs that fit into the system and pack away neatly, but Vaude/Markill market legs which fit on a Coleman 100 a bit better, IMO:


Vaude/Markill legs folded (above), unfolded (below)

OK, now it's a lot more stable with the legs attached. But let's not stop there. How about the widget on the right in the piccy below? It's a blowtorch canister stand:


It fits onto a blowtorch canister and it can be pegged to the ground for great stability, as shown below:


It can be held down and supported by small rocks (above) or you can ditch the widget and dig a small pit for the canister as shown below:


You've just got to be careful that you don't clout the top bit too forcefully, as there's a slight risk that the setup will part company at the weak-spot (where the canister is screwed in). You have been warned!

Anyway, back to the Coleman 100 canisters. One of them can be stored in the Jetboil mug, beneath the burner unit. But what about when there's two of you and you need more gas? Well, two more will fit snugly upside-down in an Alpkit Mytimug:


Conveniently, the Jetboil and the gas-filled mug stack rather neatly into a drawstring bag that used to hold an Outwell pillow. There's room at the sides for a couple of long-handled spoons (or similar), the folding feet and a few bags of dehydrated food. Neat and versatile, I reckon, and just for good measure, this package fits perfectly into the external crampon pocket on my Lowe Alpine pack (the Alpine Attack 40), where it's handy to get at for a quick brew without the hassle of having to dig it out of the main compartment of the pack.


All that, and I didn't even rave about how good the stove is. I must be slipping in my old age 🙂

LATE EDIT:

Mike "The Doctor" Bell has come up with a lightweight, cheap and simple method of using pans on the Jetboil.

Rab VR Climb Jacket

Posted by on February 13th 2007 in My reviews

This is what Rab say about it:

The Polartec® Classic 100 lining in the Vapour-rise Climb Jacket makes this the warmest garment in the Vapour-rise range. The Vapour-rise Climb Jacket is worn over a base layer as an effective 'soft shell' in all but the very worst of mountain weather. By balancing wind resistance, warmth and breathability the jacket creates a comfortable operating environment through a wide range of temperatures and activities and excels for mountain walking and mountaineering. Weight: 570g

  • Pertex Equilibrium® with Polartec® Classic 100 lining.
  • Shield water resistant treatment.
  • Three zipped chest pockets.
  • Drawcord hem and venting Velcro cuffs.
  • Full length 2 way zip.
  • Stretch Pertex Equilibrium® shoulder and arm panels.
  • Wired peak hood zips into collar.

This is what I say about it:

It fits me well as a baselayer or, if it's sub-zero, over one. I've worn it in some good and some fairly foul weather, it has resisted driven rain and snow but at no time have I either overheated or chilled. It doesn't ride up at all even when at full arm-stretch, and it doesn't slide about under a pack. Others have commented on the length of the arms, and yes, they are longer than expected, but the Velcro closures at the wrists are gusseted, so you can form comfy thumb-loops with them or you can roll them up. The lined zip-away wired hood is surprisingly good and easy to deploy without taking off the jacket. The fabric is durable, the only weak point that I can see is the stitch-work - everything is single-stitched, which means that a pulled thread could result in a gaping seam (double-stitching would have been better and wouldn't have upped the weight by much). I like the pocket arrangement - very pack-friendly.