This item has been supplied by Christoph Hitchin, representing idealo.co.uk
The tent being reviewed is the 2012 version of the Vango Banshee 300, the idealo link is here and the Vango link is here.
It's been pitched on the lawn for a while and that's given me time to have a good look around and inside it, already I have the feeling that it's going to be as good as, if not better than, previous Vango offerings in the same price-bracket. The spec's good and the features are generally well-presented.
Let's start at the beginning - what do you get and what does it weigh?
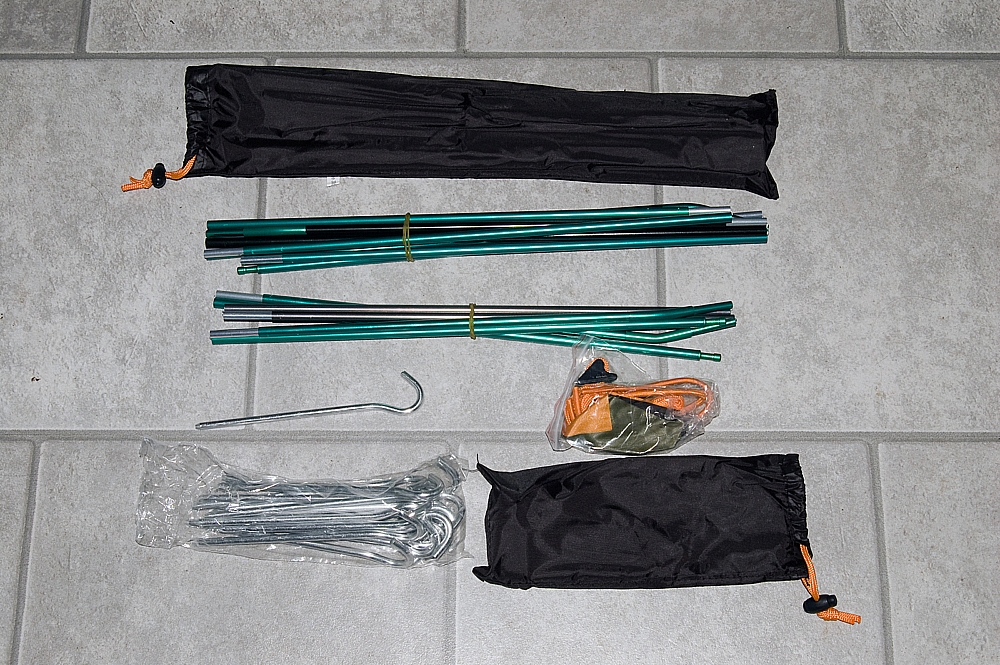
- Fly: 1270g
- Inner: 898g
- Tent-bag: 73g
- 17 Pegs: 252g
- Peg-bag: 8g
- Poles: 352g
- Pole-bag: 13g
- Spares-pack: 22g
That's a total of 2888g which compares well with the published claimed weight of 2.75kg. It's not bad for a split-carry between two people - about 1.45kg each - an Akto comes in at more than that. For those who prefer imperial, 2888g is about 6lb 6oz. Price-wise the tent's a bit variable - the MRP is £140 but I've seen these on sale for around £75 recently.
Putting it up was a doddle, it's hardly rocket-science. For the terminally-inept there's a crib-sheet .pdf file online and there are three sheets of printed instructions sewn to the inside of the compression-bag. Pitching took 10 minutes first time out, that included attaching the inner and faffing with the lines. YMMV. It pitches outer-first or all-in-one, the poles and pole-sleeves are colour-coded and you'd be hard-pressed to get it wrong, there are only two poles and they are significantly different lengths so they won't fit in the wrong place. The pegs are standard Vango-issue ally hooks, fairly strong but they will bend if mistreated, unlike the harder-and-lighter top-class versions issued with my F10 Spindrift. There are webbing straps between most of the pole-ends which means that the pole-spacing should end up dead right every time (but read on...)
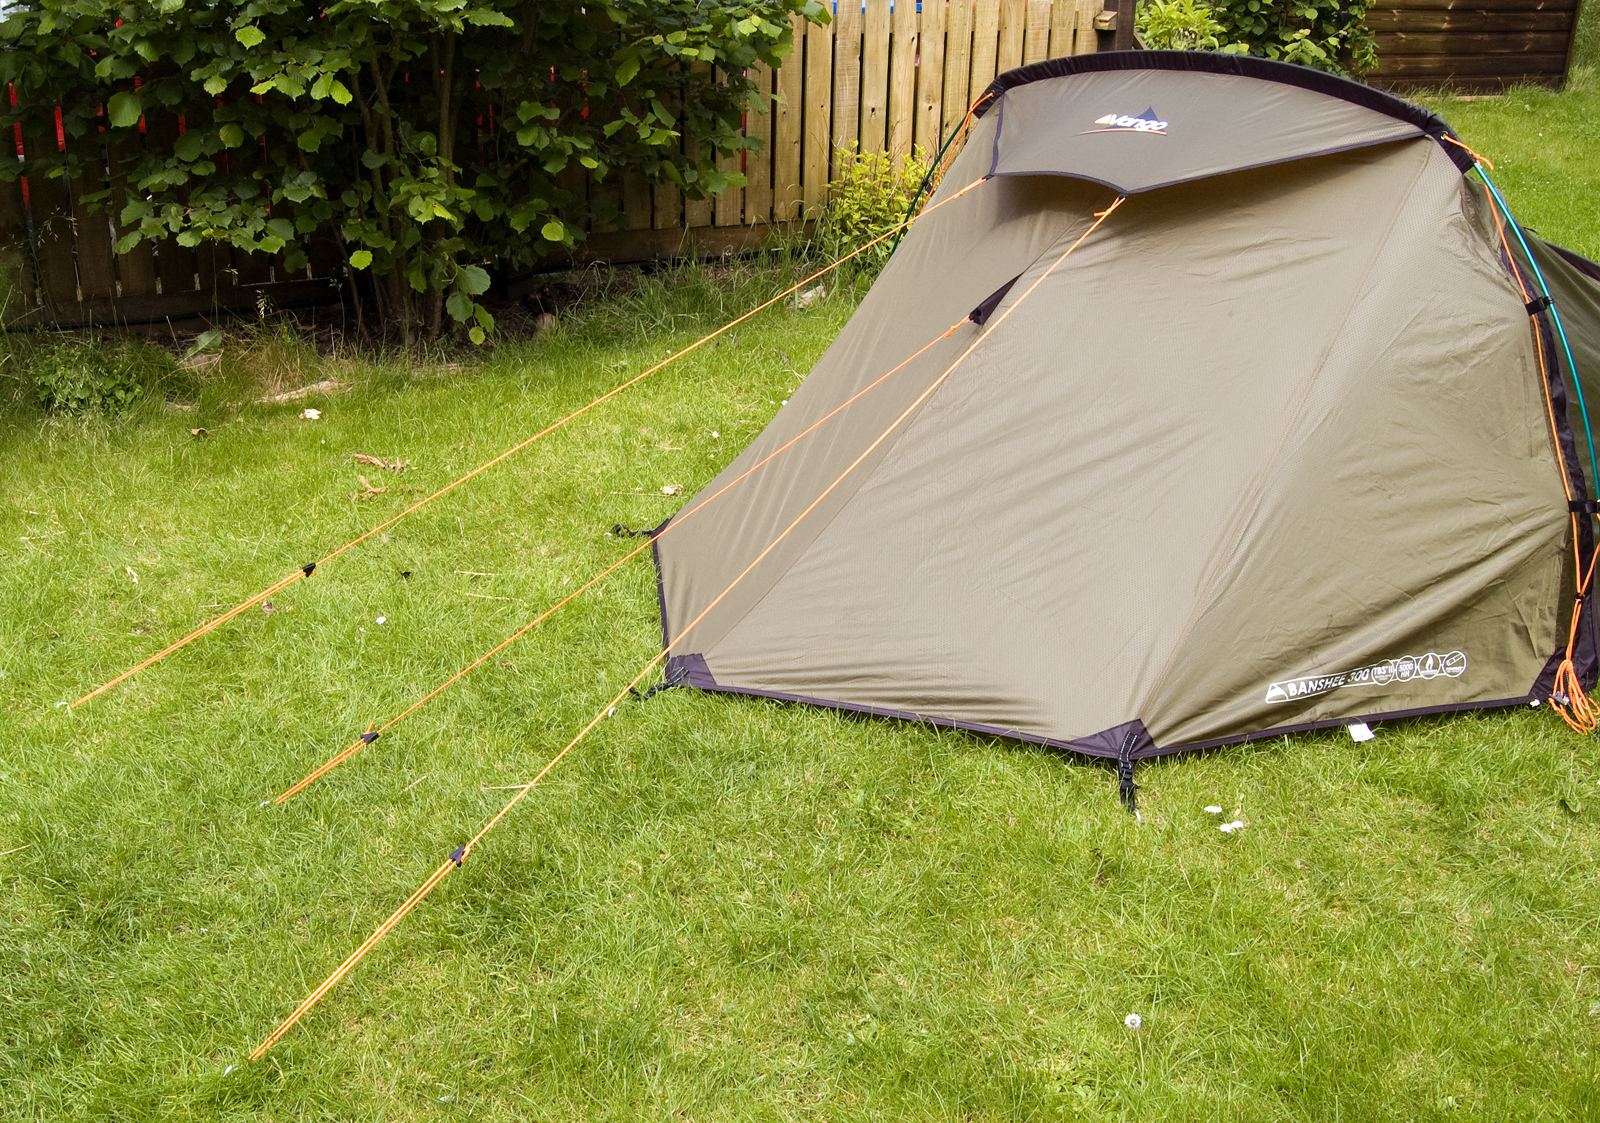
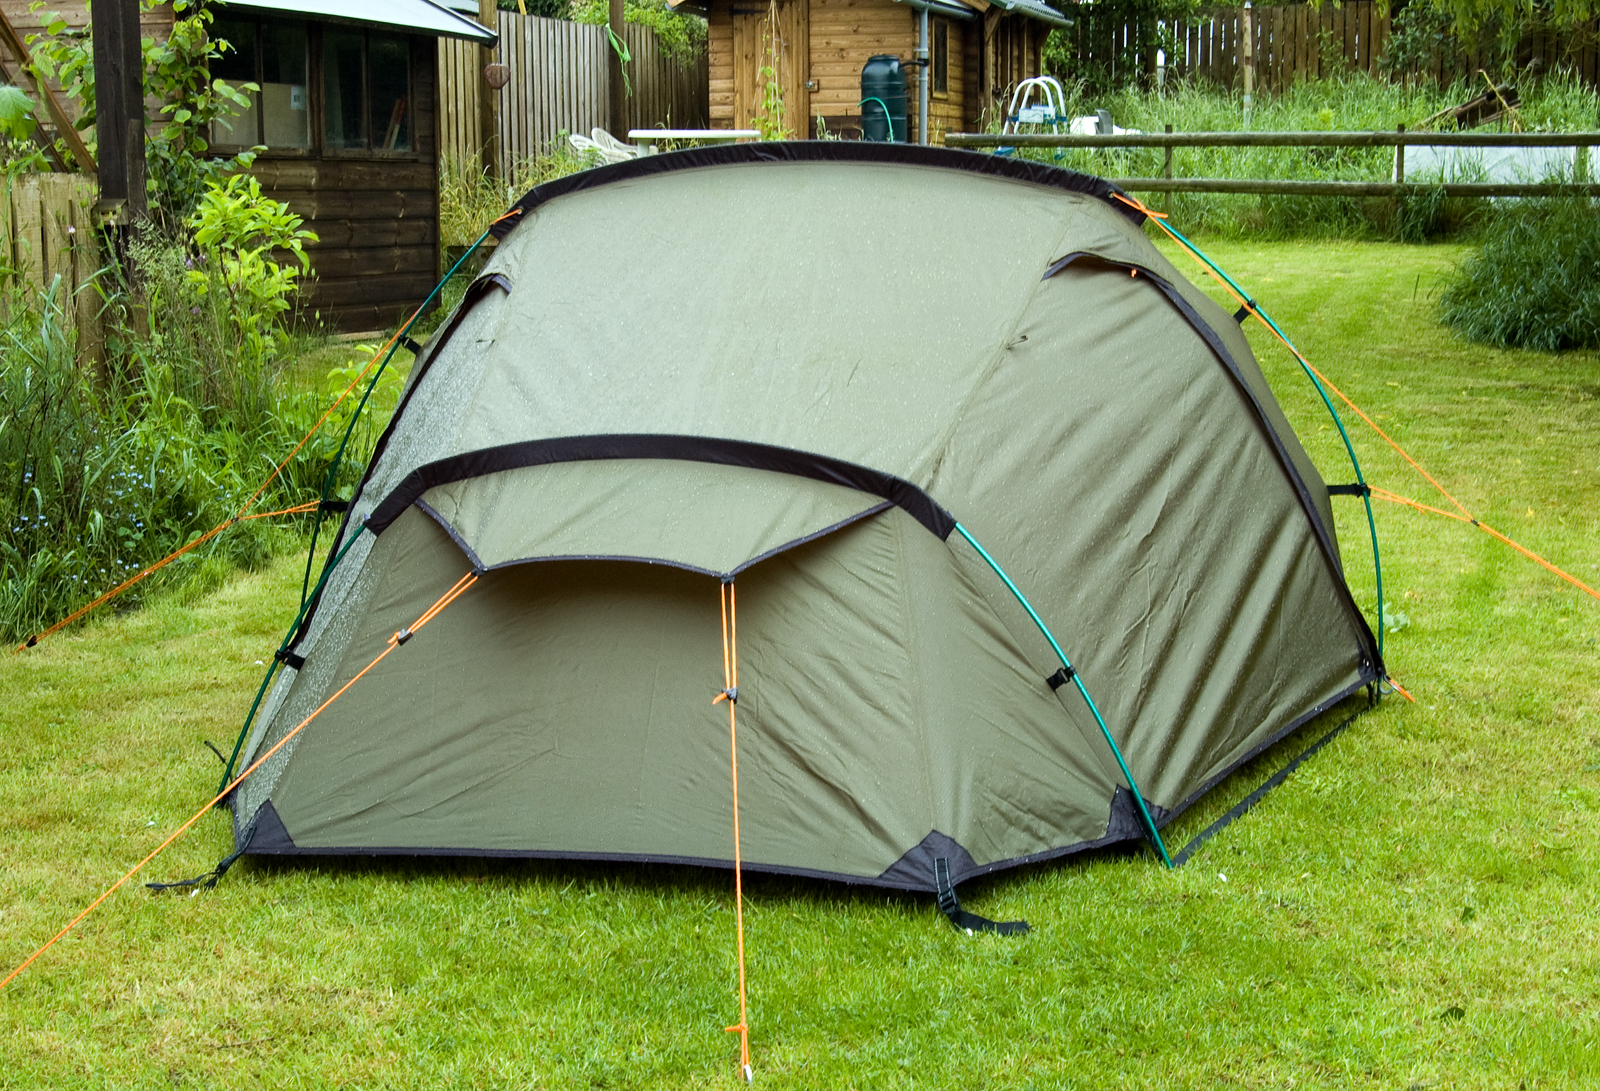
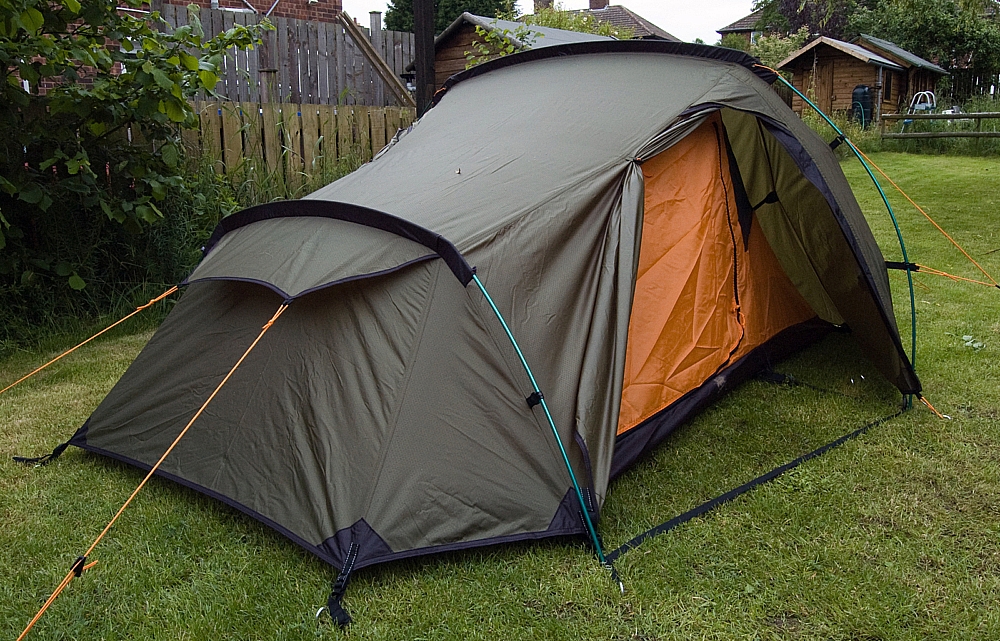
Anyway, here's what it looks like closed-up:
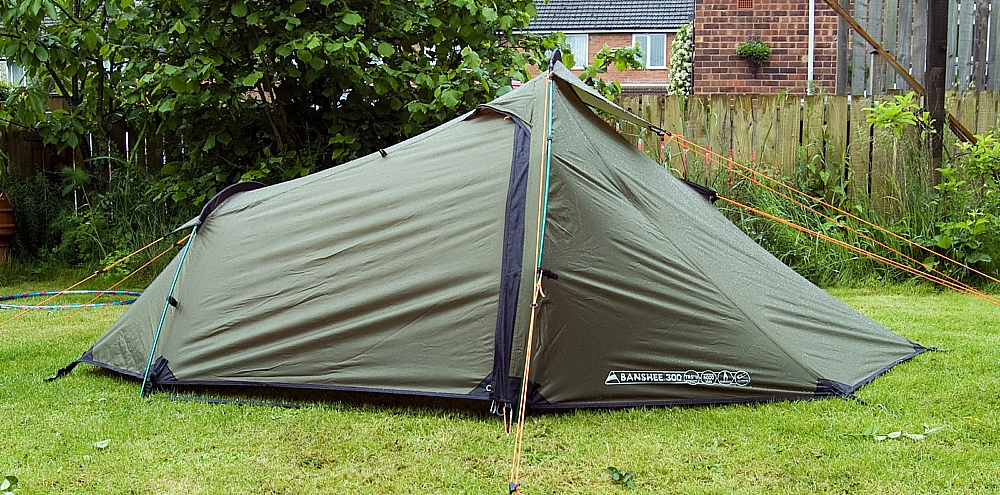
Side
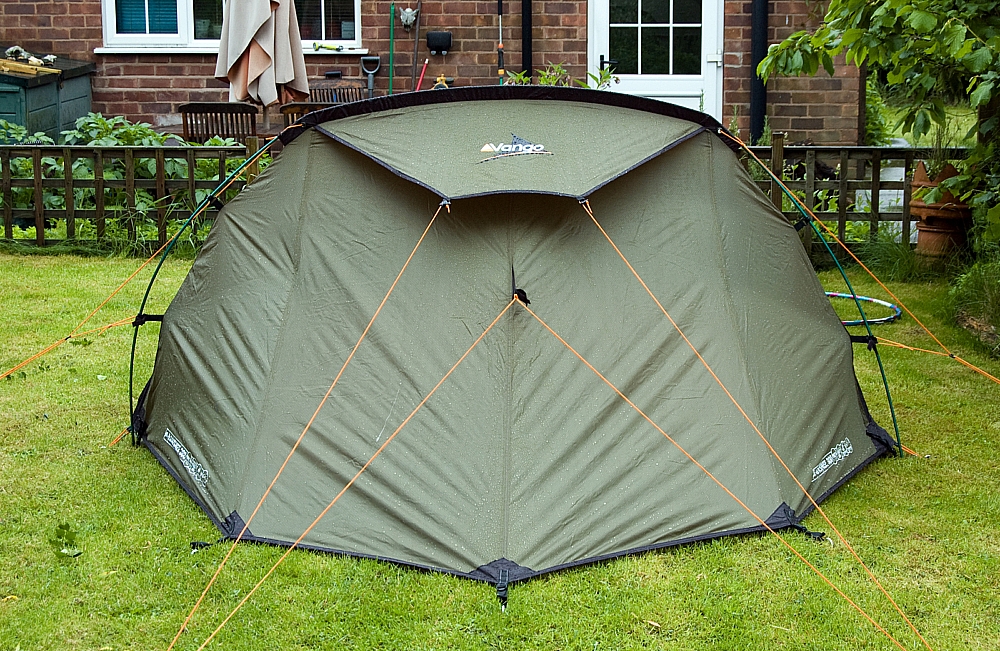
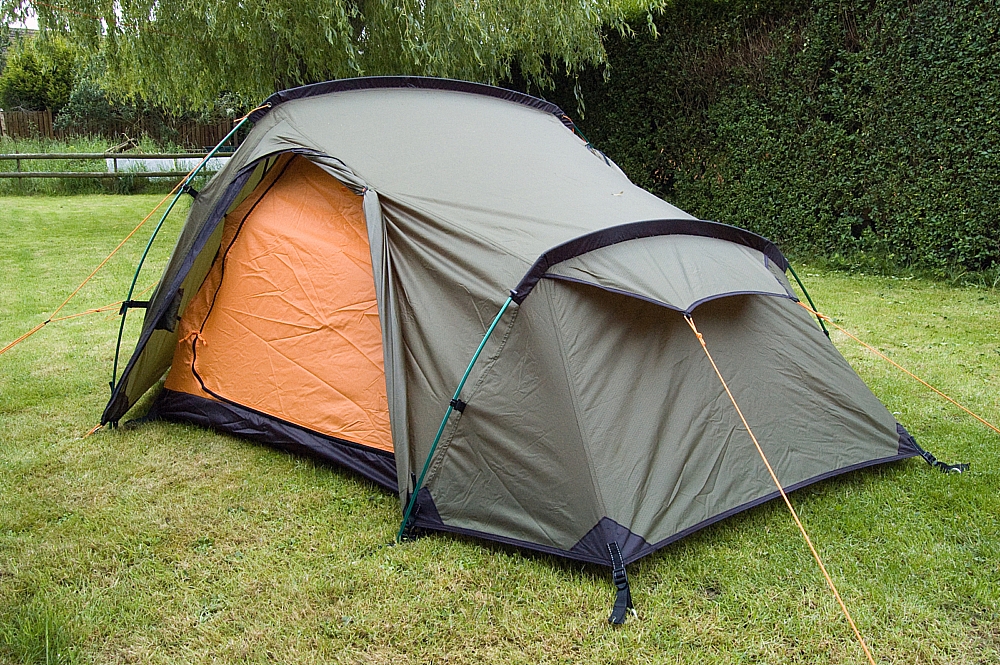
Front with original (dodgy) guy configuration
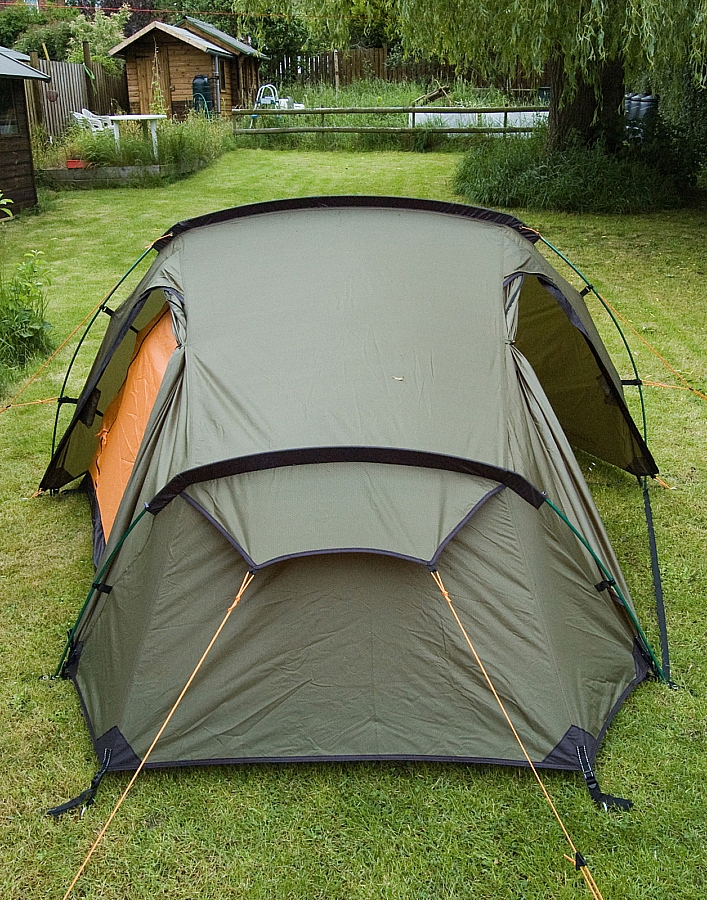
Rear with original (dodgy) guy configuration
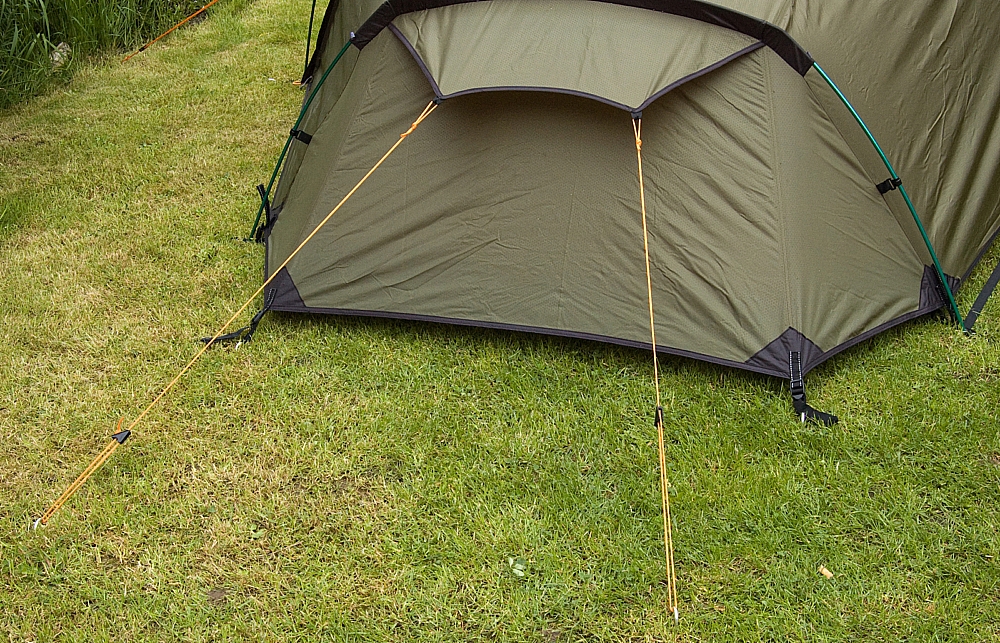
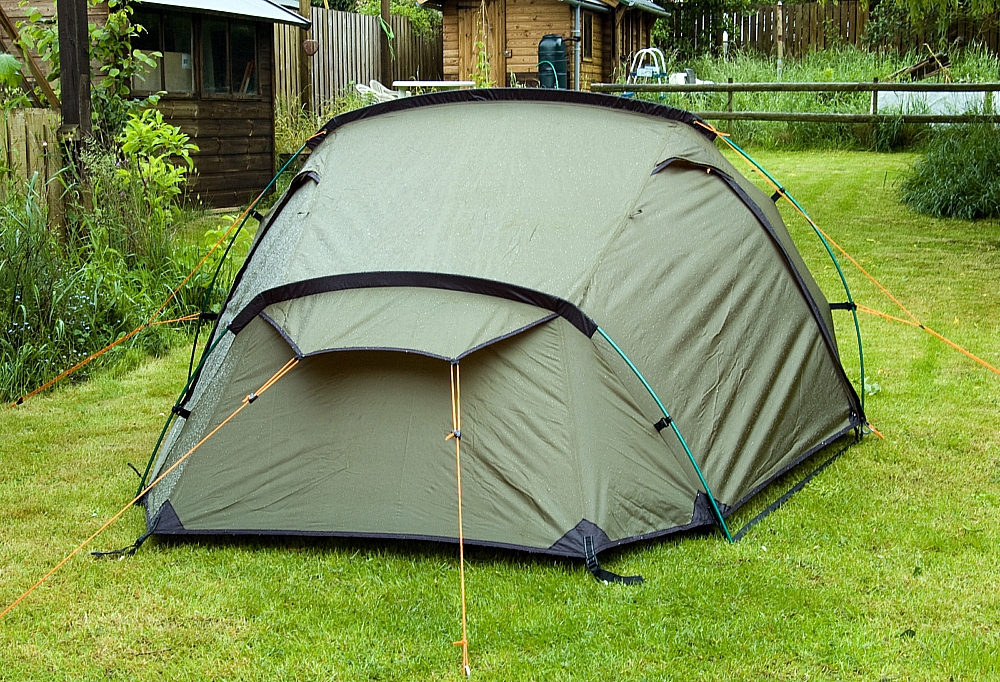
Rear with corrected guy configuration
You'll note the minor gripe about how the end-guys were attached. It's probably just me being a tad fussy, but I don't like running lines passing through static fabric loops - every re-tensioning saws away at the loops and eventually they fray, it's worse with icy lines. Far better to have static lines in static loops, IMO. I've corrected the lines at the rear, I'm waiting on some bits so as I can correct the ones at the front. The side ones were fine.
Those front and rear lines don't just hold the tent up, they hold up the vent-flaps too, and the front lines also steady the front wall where the inner is attached. The mesh vents are always open, there being no means of closing them, but they are well-protected:
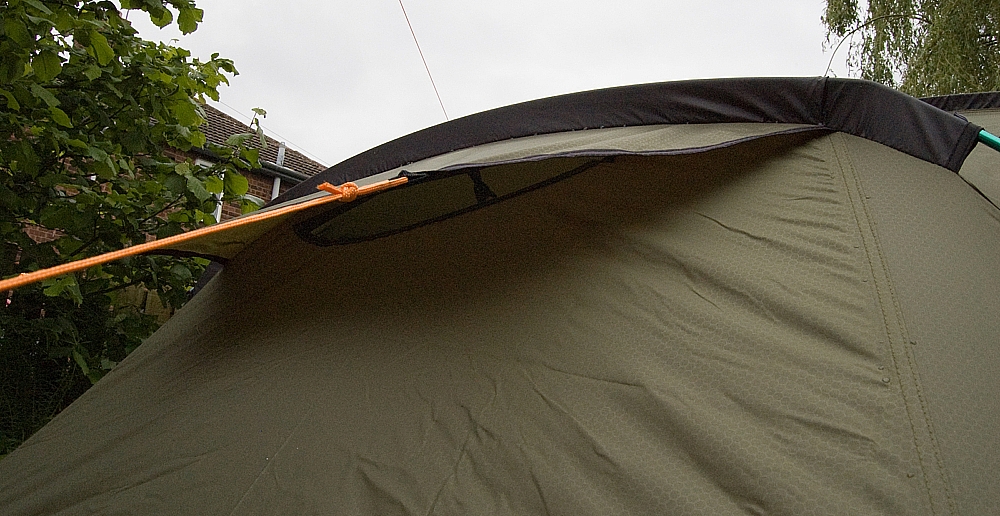
Rear mesh vent
Front mesh vent
Unlike the tent pictured on Vango's website, all of the fly's nine main pegging-points are tension-adjustable via reflective-webbing and buckle arrangements:
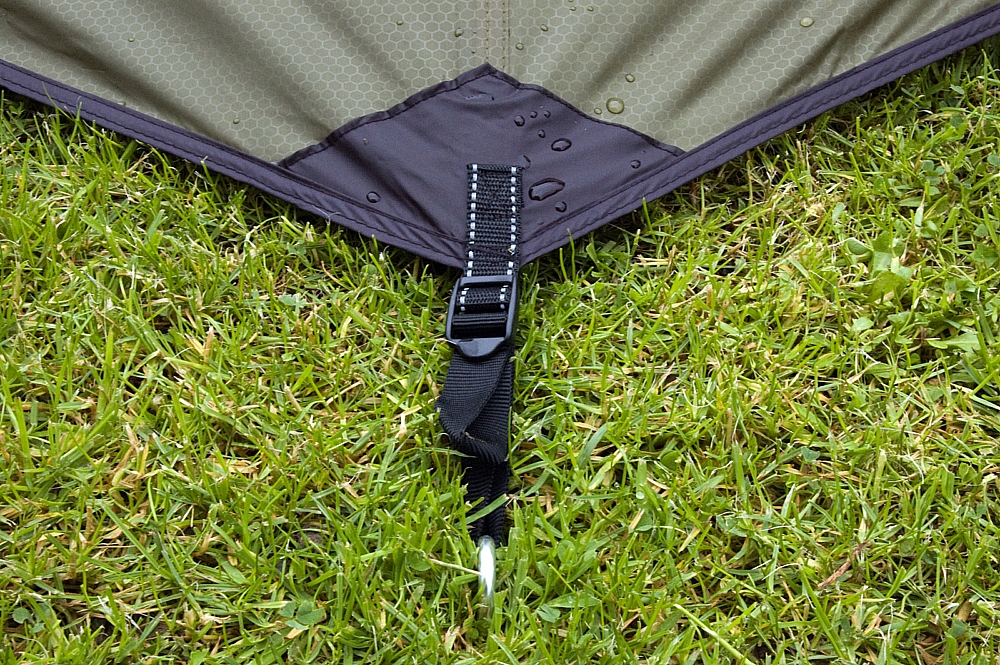
Adjustable pegging-point
It was while looking at these pegging-points that I noticed that the seam-taping was a bit errant - in some places the edge of the tape was very close to the seam-stitching. A thorough check of the fly's taping was conducted and this was the worst bit. It's OK but only just:
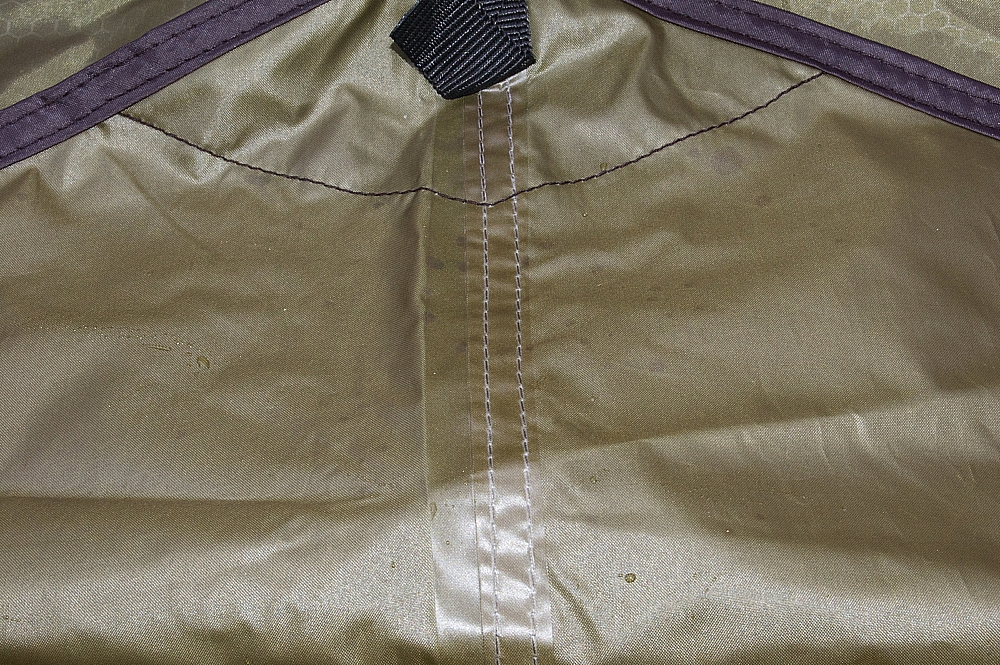
Seam-taping could have been done with more care
There are orange bungee-loops at the bottom-edges of the fly right next to the entrance-flaps. I'm told that they're for the handles of clacky-sticks if you have a mind to prop open the flaps in fine conditions, the points go into the metal eyelets. Guying-out the clacky-stick would explain the two unused pegs:
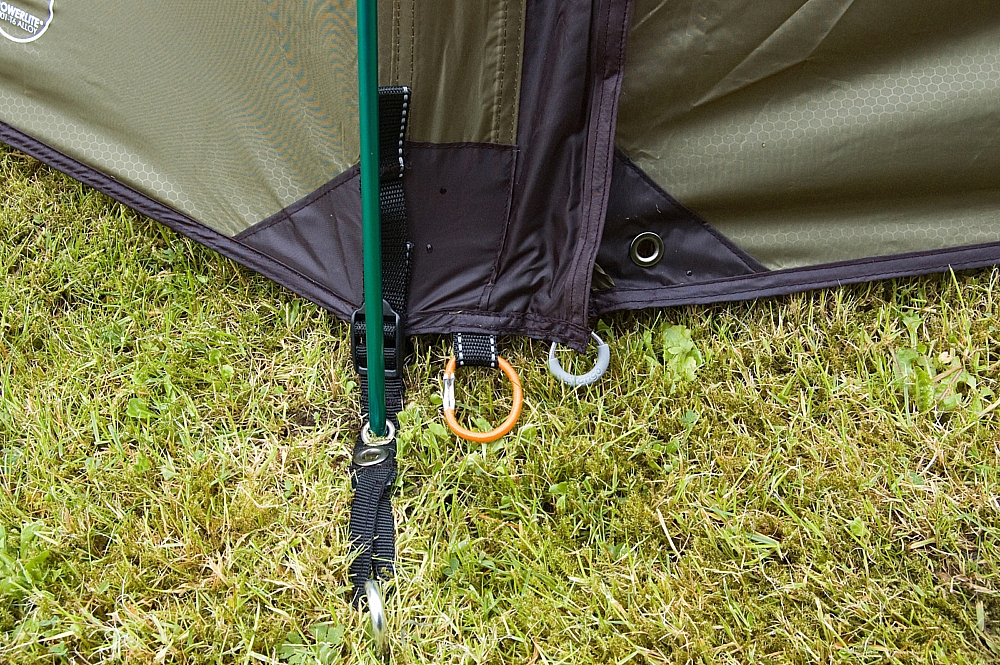
Orange loop
Also shown above is one of the neat zip puller-loops on the fly, here's a better view:
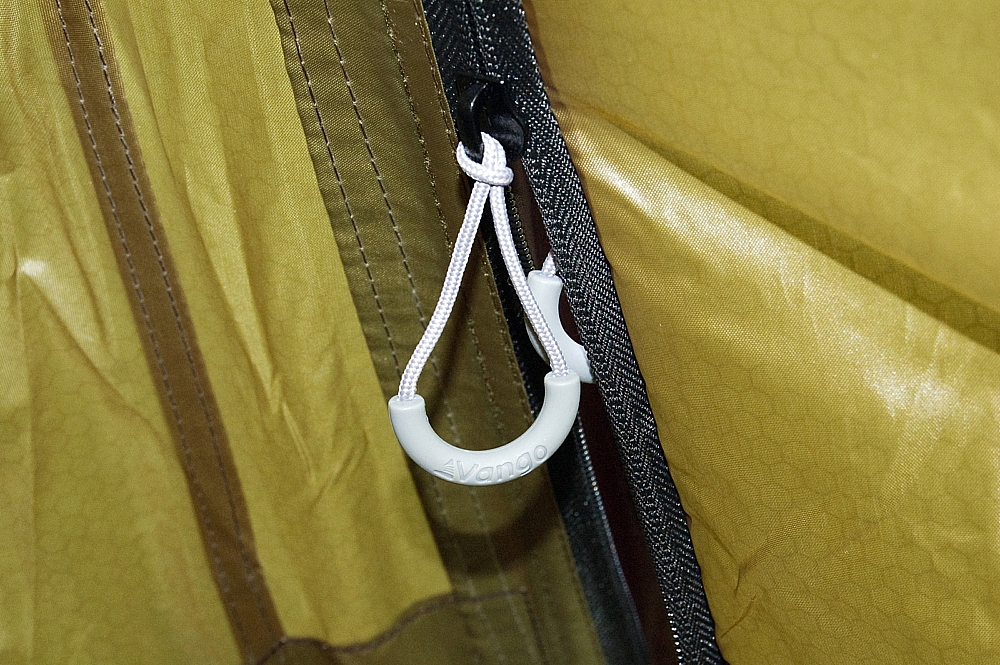
Fly zip puller-loops
I like these puller-loops, they feel good and they stay open and finger-ready (unlike fabric or shock-cord loops) but they'd have been better if the cord that they're moulded onto was of the reflective variety. Sadly these puller-loops aren't fitted on the inner's zips or on the top pullers of the fly's zips, where cord-loops are used instead. A trick missed, I think, and hardly a budget-breaker, but it wouldn't be a deal-breaker.
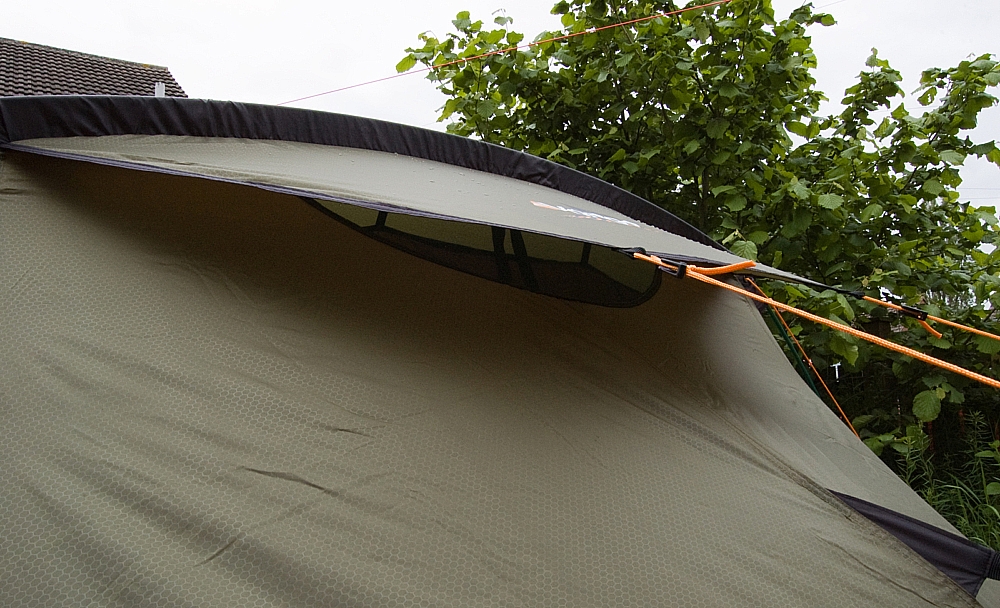
Still, the zips are all of good quality and the double-ended fly-zips allow venting under a cowl at the top-end of each entrance-flap:
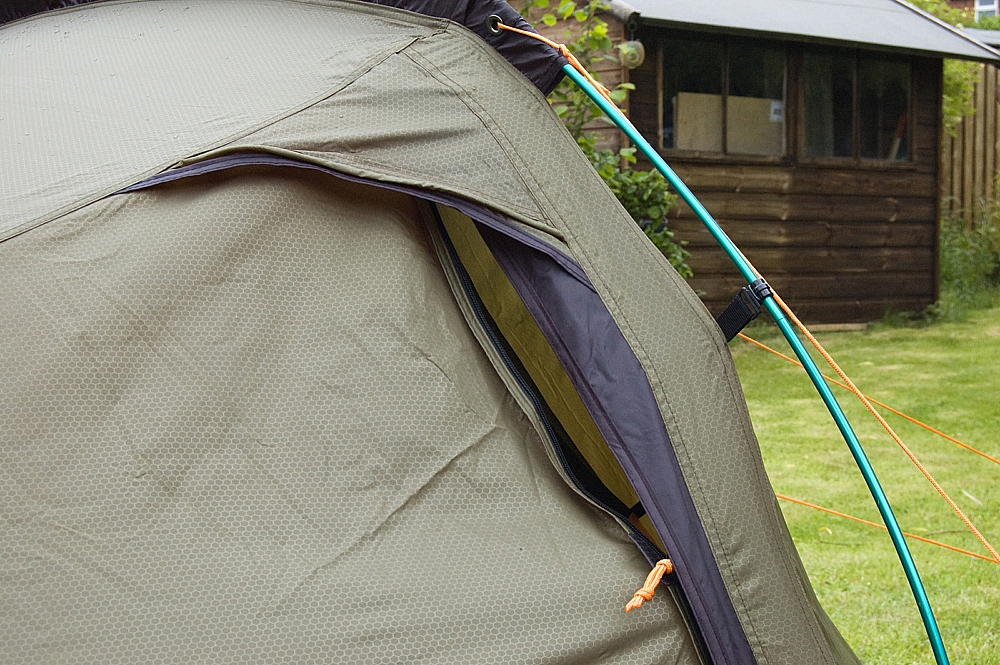
Cowled venting
So, let's see it in the full with the flaps open and toggled-up:
The main entrance showing a reasonable area for storage or cooking
The secondary entrance
So, have you spotted the problem yet? Maybe this next pic will make it more obvious:
Both entrances in view
Yep, there's no webbing-strap across the secondary entrance. In order to get a taut pitch the pole-spacing must be correct right at the start or the secondary entrance either flaps or pulls apart. I've a mind to retro-fit a strap, I reckon I've got a suitable bit of webbing somewhere. Would have saved me some effort if it had been right first time though.
You'll be wanting a look inside, I suppose.
The inner is predictably saggy in parts, it's a design-constraint, it can't be fixed to something that's not itself fixed or taut. The inner hangs from under the pole-sleeves and is clipped or toggled to the fly in various places. To be fair, it's less saggy when the inner flaps are zipped up but I needed them open for these pics. The groundsheet is of the bathtub variety but it's a shallow bath - two inches max. The inner walls and ceiling are well-designed and there's good headroom for sitting in comfort provided you're not over-tall. The head end is part-mesh so the ventilation is good. There are four basic mesh storage pockets and zipped access to the space under the front end of the fly. This access has two covers - mesh and full-fabric - and so can be used as a further vent:
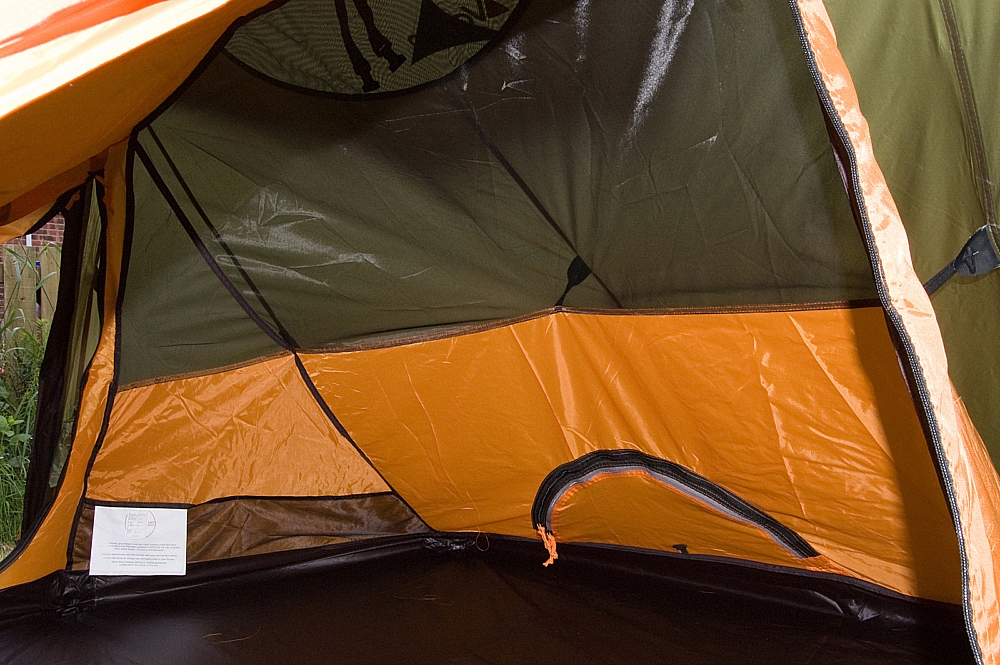
Head end detail
The foot end is basic, it's wide enough for two kip-mats, there's another mesh panel and there's good clearance for big feet:
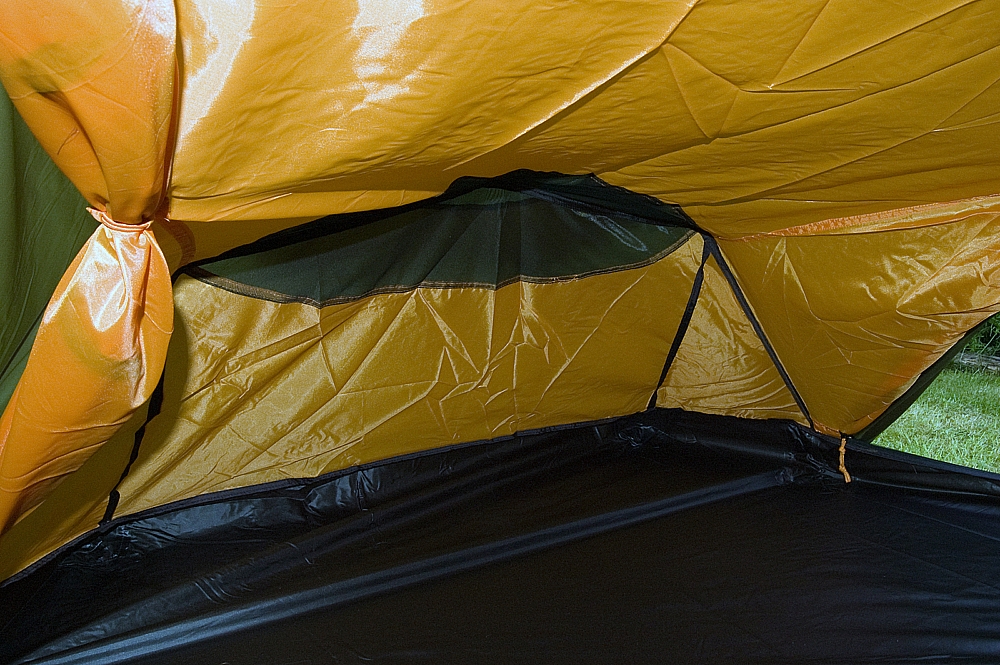
Foot end detail
There's not much more in there. There's no gear-loft or hanging-loops. The TBSII "Tension Band System" bands pass through the inner in the same vertical-ish plane as the main pole, I haven't deployed the system yet and so can't comment on its effectiveness or on its intrusion into the inner space.
It's quite a big tent, wider than I'd expected. It's billed as a three-person shelter but I think that's pushing it a bit. It would just about cope with three in an emergency and with most of their gear left outside, but if comfort's your thing then two-plus-gear would be about right.
Use the fly without the inner and you'd have plenty of room for three. And you'd have 898g less to carry. Maybe I'll give it a shot sometime.
In order to give some sense of scale I decided to deploy our very own Banshee:
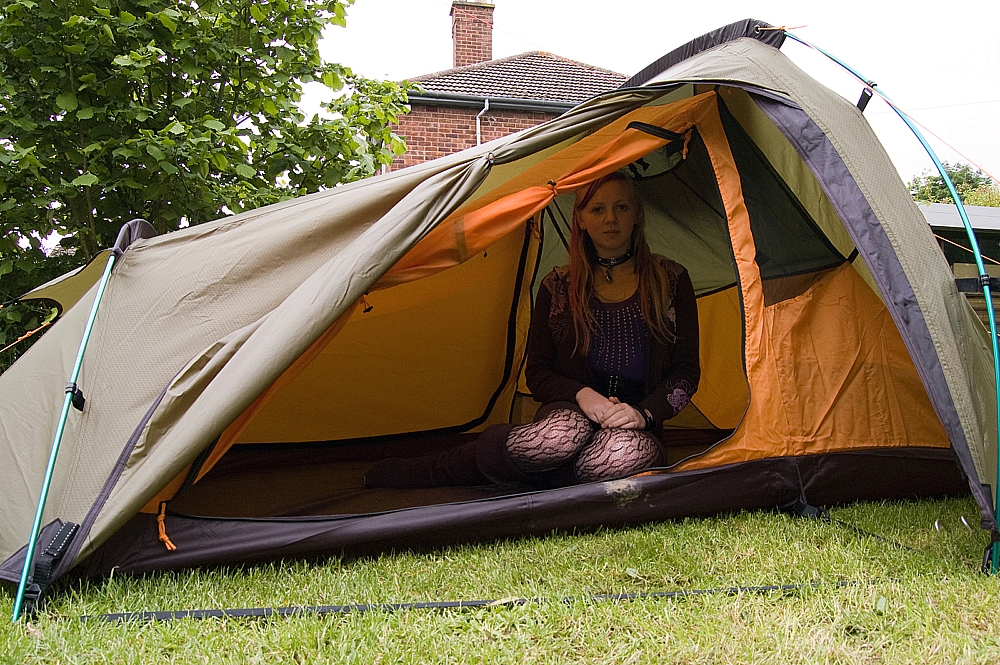
Sitting
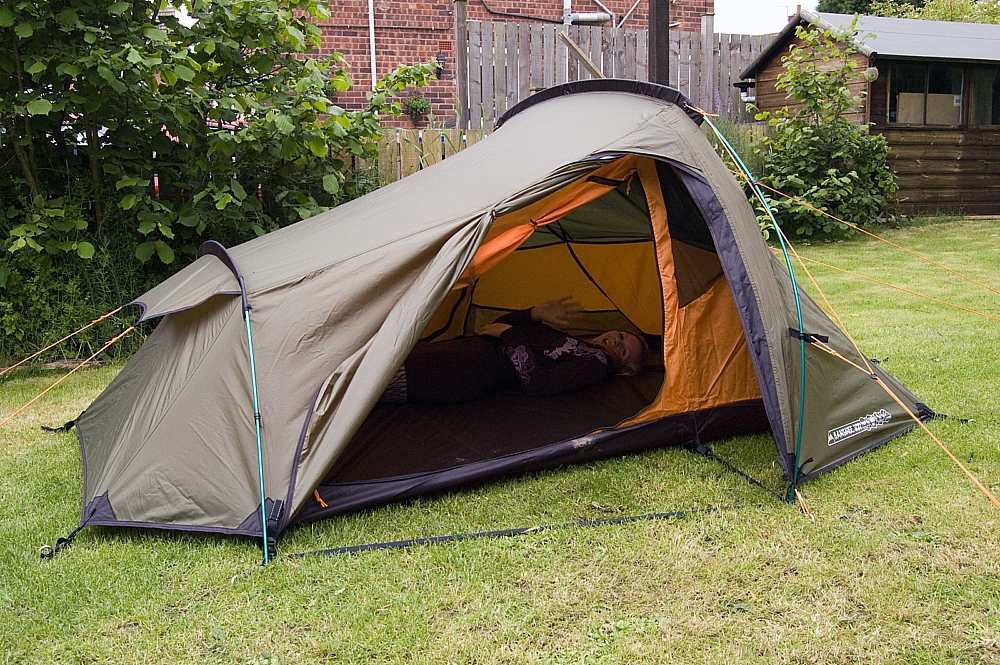
Lengthways
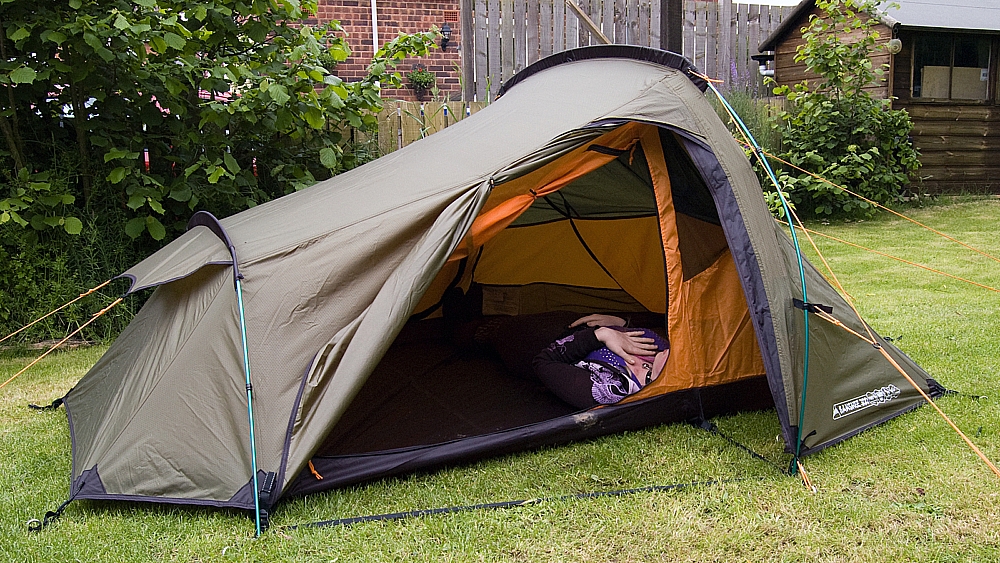
Widthways, just for the hell of it
The storage bag is of the side-compression type and it has an effective drawcord closure. There was a length of webbing that connected each compression-strap and acted as a grab-handle, a nice touch but I've removed it as I can foresee no use for it.
Compression-bag
So far the tent's been out in some heavy rain and the fly sheds it well, directing it away from the zips and vents. Apart from the minor issues with the way the thing's been guyed and the more serious problem with the omitted webbing strap, I'm really impressed with this tent, I reckon that for the price it's well-specced, reasonably light and it'll be about right for two folk on the hills. I'm looking forward to seeing how it fares with me spending a night in it, but that'll be a tame garden-camping test. We're scheduled to take it on a wildcamp some time in the next few weeks when it'll see some proper action in the treeless wastes of Skiddaw Forest.
The big unknown is whether Chris will like it. She's used to the luxury of our 6kg 2006 F10 Spindrift which is bombproof, spacious and taut inside (pitches inner-first), and well-equipped with storage spaces at every turn. I've a feeling that for her, going lighterweight and downsizing is going to be quite a challenge.